Finishing Options for Injection Moulding
Choose from a wide selection of finishing options for injection moulding that strengthens parts, improves cosmetic appearance and provides customisation.
Post-Processing for Moulded Parts
Depending on your application's requirements, you can choose from the following when requesting an injection moulding quote:
- Threaded inserts
- Pad printing
- Laser engraving
- Basic assembly
- Inspection Reports
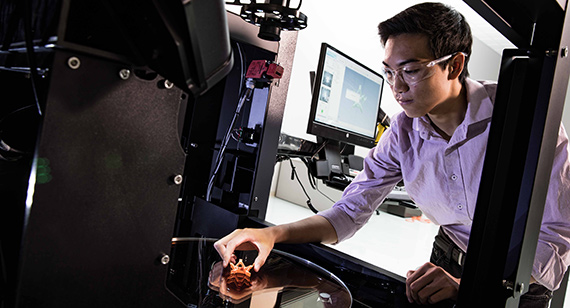
Inspection Reports
We offer three types of dimensional inspection reports to support your critical dimension verification and quality documentation requirements such as FAIs.
Threaded Inserts
In addition to insert moulding, we install heat and self-tapping inserts post moulding.
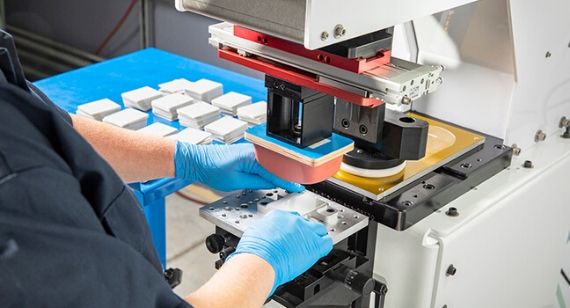
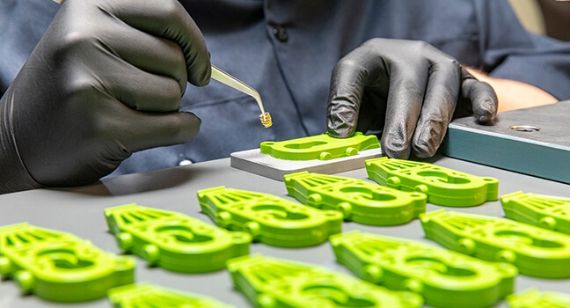
Pad Printing
Transfer a two-dimensional image, like a company logo, onto a three-dimensional object. All images are reviewed for size, colour, and complexity restrictions.
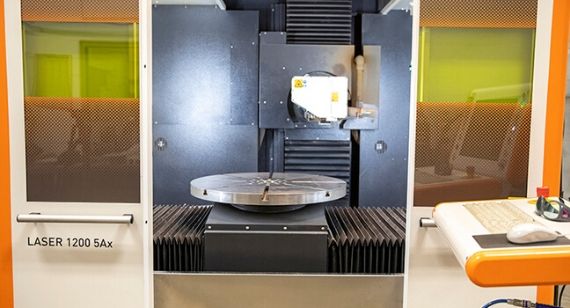
Laser Engraving
Laser engraving can be applied to the mold or directly to final parts for information such as logos or part numbers. Laser engraving ensures crisp, consistent information on each part or serialisation.

Basic Assembly
At Protolabs, basic assembly includes fastening moulded parts together that we’ve manufactured and/or applying of labels to individually bagged parts.
Resources


