Injection Moulding Considerations
Your masterclass in product design and development
Protolabs’ Insight video series
Our Insight video series will help you master digital manufacturing.
Every Friday we’ll post a new video – each one giving you a deeper Insight into how to design better parts. We’ll cover specific topics such as choosing the right 3D printing material, optimising your design for CNC machining, surface finishes for moulded parts, and much more besides.
So join us and don’t miss out.
Insight: Injection Moulding Considerations
Transcript
Hello and welcome to this week’s Insight.
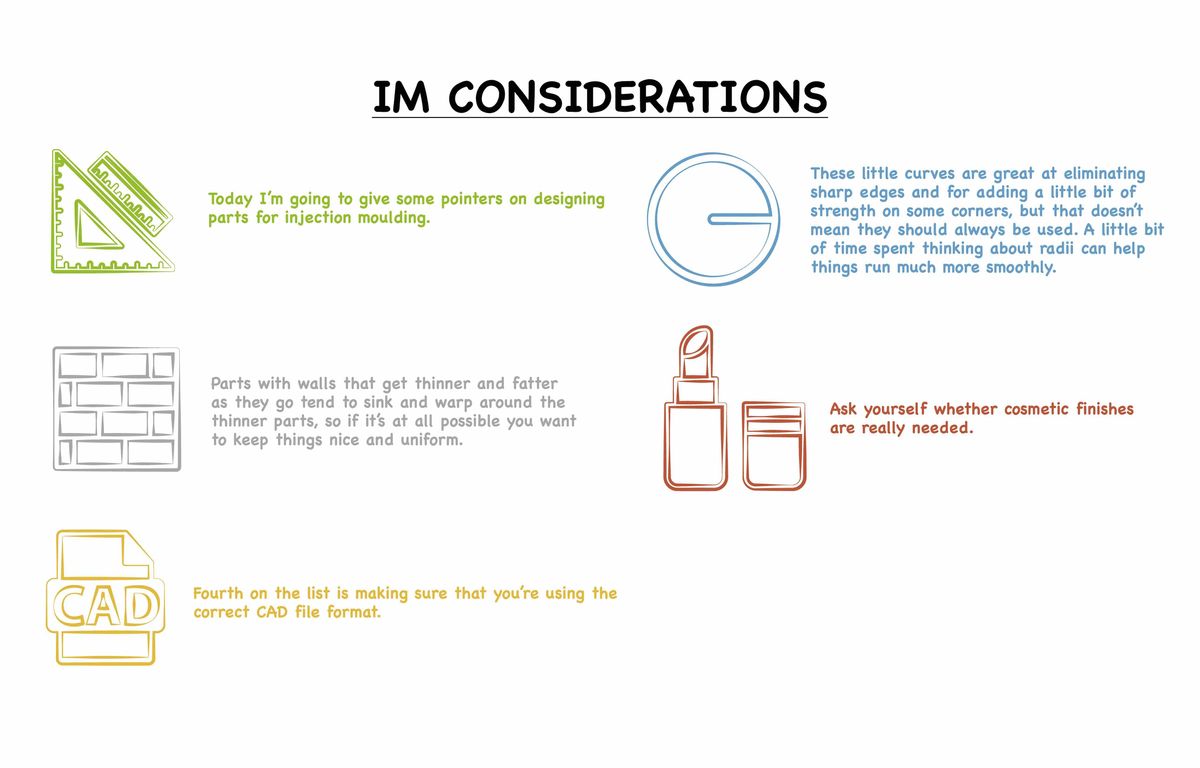
Today I’m going to give some pointers on designing parts for injection moulding.
Injection moulding is, in many ways, one of the simpler manufacturing processes we work with. There are no lasers and no machining – just filling up a cavity with liquid plastic. However, just because it’s easy to understand, that doesn’t mean that there aren’t ways for it to trip you up.
In fact there are a lot of ways that little mistakes and niggles can slow down the process and cause parts to fail. But we’ve narrowed down to eight of the most common issues encountered and – importantly – how to avoid them.

First up: stay well away from non-uniform wall thicknesses.
Parts with walls that get thinner and fatter as they go tend to sink and warp around the thinner parts, so if it’s at all possible you want to keep things nice and uniform.
Of course, sometimes the nature of a part makes this pretty unavoidable, but even then, you should really try and keep even the thinnest parts at least forty percent as thick as their neighbours.
Number two: avoid sharp transitions from thick to thin areas.
The problem with this kind of design comes from the way that moulded parts cool after being ejected. The thinner pieces will cool down faster, while thick ones take much longer, and that kind of differential can create weak areas in the part.
If you do need a gradient, try and make it as gradual as possible. That should help the part stay strong.
Number three is to be really careful when it comes to using c-shaped parts.
These kinds of curved shapes are inherently weak unless they’re well-supported and have a tendency to warp. This is especially true when you’re using glass-filled materials.

Fourth on the list is making sure that you’re using the correct CAD file format.
This might sound obvious, but sometimes our engineers get sent files that are translated from .STL files used for 3D printing. Thanks to the way these work – using lots of little triangles rather than true curves – we can’t use these for moulded parts, and if you send them over we’re going to have to request changes, which can eat up a lot of time.

Number five: Make sure you’re only using radii where you really need them.
These little curves are great at eliminating sharp edges and for adding a little bit of strength on some corners, but that doesn’t mean they should always be used. A little bit of time spent thinking about radii can help things run much more smoothly.
Point number six stays on the subject of radii, but this time it’s all about being careful about mixing them with parting lines – the line where the two halves of the mould meet.
Again, this is just something you need to be careful about, because putting a radius around the line can end up causing some minor undercuts or even flash – neither of which are things we really want.
In fact, point number seven is to just try and eliminate undercuts in general if you can. These little features can make it much harder to eject a part from its mould and can require the use of fancier techniques like side-action cams or pick-out inserts. These work well, but they do add more time and cost onto the process.

Finally, number eight: Ask yourself whether cosmetic finishes are really needed.
It may sound obvious, but we do get a lot of parts that come to us with cosmetic finishes just because somebody felt like they wanted them. It’s important to just sit down and think about what’s needed and about how much time it will take up.
If you don’t really need that buffing or texture, you can save yourself some time and some cost by cutting it out. Or, alternatively, you can just target specific areas of the part rather than going for an all-over finish.
And that’s it for our eight things to avoid when you’re designing for injection moulding. I know we didn’t have much time to focus on each bit, but if you want a more detailed breakdown you can check out our other videos or just give us a call.
That’s it for this week. I look forward to seeing you again next Friday.
--
With special thanks to Natalie Constable.


