CNC Machining Design
Your masterclass in product design and development
Protolabs’ Insight video series
Our Insight video series will help you master digital manufacturing.
Every Friday we’ll post a new video – each one giving you a deeper Insight into how to design better parts. We’ll cover specific topics such as choosing the right 3D printing material, optimising your design for CNC machining, surface finishes for moulded parts, and much more besides.
So join us and don’t miss out.
Insight: CNC Machining Design
Transcript
Hello and welcome to this week’s Insight.
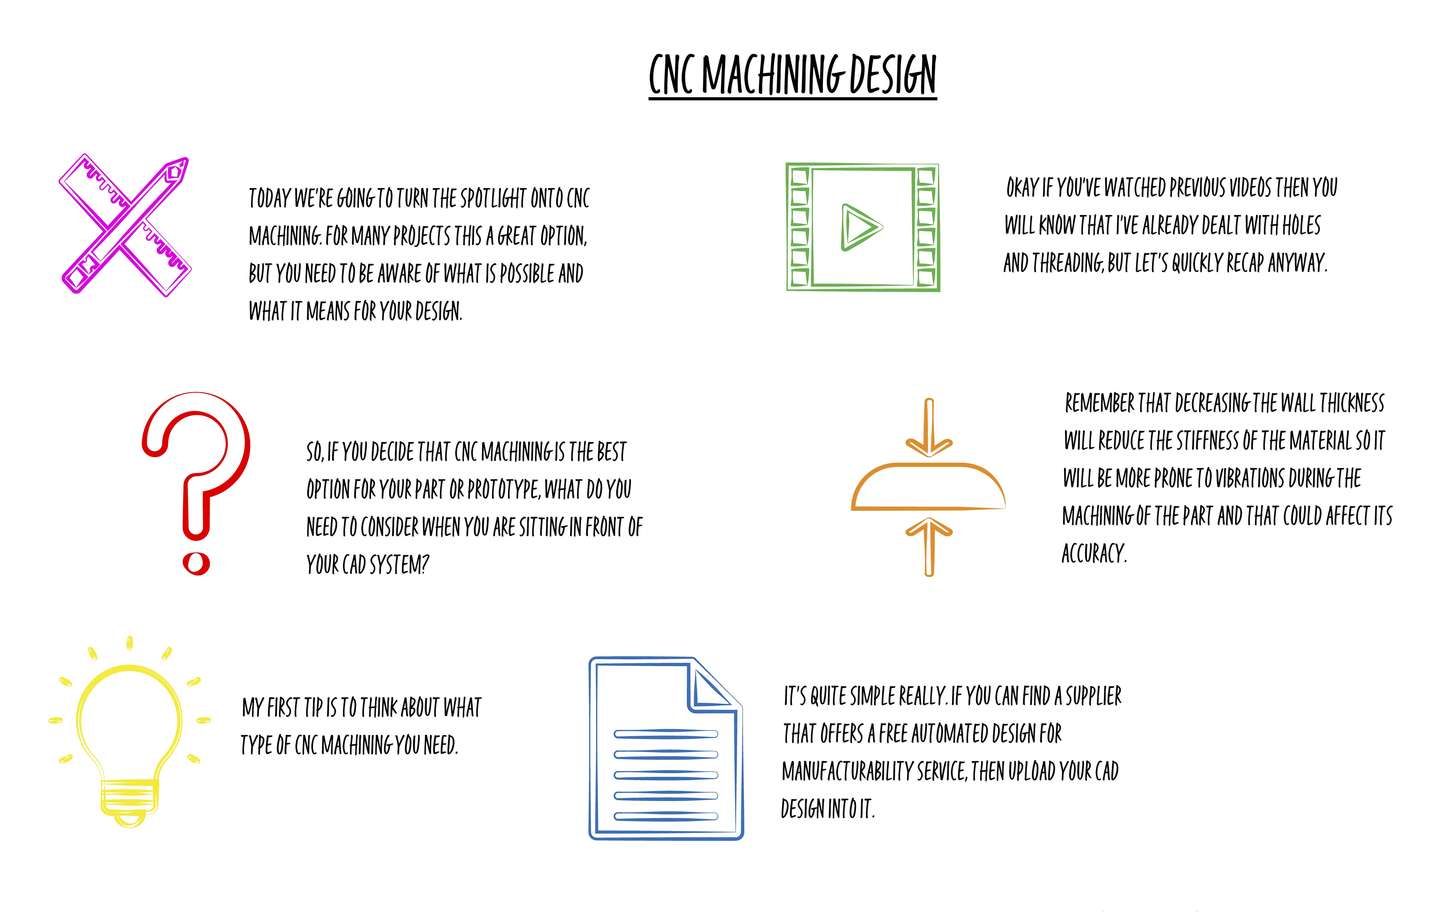
Today we’re going to turn the spotlight onto CNC machining. For many projects this a great option, but you need to be aware of what is possible and what it means for your design.
We’ll finish off with a great tip on how you can test that your design is suitable for this technology, so make sure that you hang around until the end.
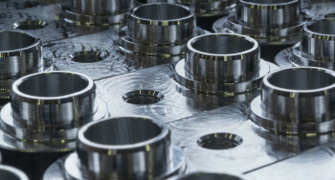
This process involves removing material from a solid block of metal or plastic using a number of different cutting tools that rotate at a high speed.
The process produces parts that have tight tolerances of plus or minus 0.1mm and it is great for both low volume parts of…let’s say 200 plus, and one-off jobs.

So, if you decide that CNC machining is the best option for your part or prototype, what do you need to consider when you are sitting in front of your CAD system?
Let’s start by understanding the process. To remove material the cutting tool approaches the workpiece directly from above, so if it can’t access a feature from this direction then it cannot be CNC machined.
This is one of the biggest stumbling blocks for many designs; if your supplier can’t remove the material then it will be left on your part. Sometimes you can get around this with some subtle redesigns, so speak to your supplier about the part’s functionality because you may be able to achieve what you need in a slightly different way.
Of course, there is always an exception and in this case it’s undercuts. While these are sometimes possible, it’s still a good idea to avoid them if you can.
What this means in practice is that if you are designing for a 3 axis CNC system then it’s a good idea to align all of your features on a design to one of the six main directions. A more advanced 5 axis system gives you more design flexibility because it has more advanced work holding options; but on the downside it will cost you more to use and is only available for metals.

So, my first tip is to think about what type of CNC machining you need.
Tool access can also be a problem when machining features with a large depth to width ratio. We generally recommend a design that uses a tool with the largest possible diameter and shortest possible length.
If your part needs a cavity then remember that end mill tools have a limited cutting edge, so we recommend limiting the depth of the cavity to four times its width. This helps avoid tool deflection and prevents chips from getting stuck in the cavity and causing problems.

Okay if you’ve watched previous videos then you will know that I’ve already dealt with holes and threading, but let’s quickly recap anyway. For a hole it’s a good idea to limit yourself to 4 times its diameter. You can stretch this a bit, but it’s a good rule of thumb.
For threading the best thing to do is speak to your supplier as it will vary between milled and turned parts and of course you can also have internal and external threads. Threading is an entire topic in itself which is why we have already produced a dedicated Insight video on the subject – you’ll find some really handy tips to help you get more depth.
We’ve also dealt with wall thicknesses in a previous video but again let’s recap. Here at Protolabs we would recommend that you certainly don’t go below 0.5mm and would say the thicker the better.

Remember that decreasing the wall thickness will reduce the stiffness of the material so it will be more prone to vibrations during the machining of the part and that could affect its accuracy.
Right, are you ready for that handy cheat that I mentioned at the beginning of this video?

It’s quite simple really. If you can find a supplier that offers a free automated design for manufacturability service, then upload your CAD design into it. The system should highlight any areas where there would be unwanted material left over after CNC machining.
Using this information, you can tweak your part design and upload it again to check. Think of it as prototyping your design. It could save you a lot of time and money.
One thing that you have heard me say a few times in this video is to speak to your supplier. CNC machining is a manufacturing technology that can vary between different companies so get them involved right from the beginning. Remember that they will have engineers that work with CNC machining everyday so do make use of their expertise.
That’s it for this week. I look forward to seeing you again next Friday.
With special thanks to Natalie Constable.

