


All metal machined parts are susceptible to corrosion. It’s just the nature of chemistry. But if you choose your materials thoughtfully and use specialized treatments, you can reduce negative effects of challenging environmental conditions substantially. When manufacturing aluminum parts, one way to limit corrosion is to take advantage of chemistry and alter it by either coating the material—as with chromate plating—or you can dive into the molecular level and physically change it. That’s the essence of anodizing, and there are two kinds that we work with. More about that later.
Chromate plating helps limit corrosion, eases cleaning, and provides a smooth, durable finish.
How Does Anodizing Work?
A perfect example to explain anodizing is aluminum. If you put machined aluminum parts that have been cleaned, degreased, and etched (if desired) in diluted sulfuric acid—don’t try this at home, kids—then run electricity through the aluminum, you can get that metal to accept some oxygen atoms from the sulfuric acid. This alters the surface by creating a controlled form of corrosion. The new compound, aluminum oxide, acts to protect the aluminum itself, although it is porous.
At this point, you can change the color of the oxide-coated metal by dropping the parts into an electrolytic bath that includes dye. During each of these steps, the longer that the parts remain in the bath, the deeper the protection and/or color. The final step is to seal the anodized parts to prevent scratching or staining.
Compared to adding a coating to your part with chromate plating, the big difference with anodizing is that you have changed the actual characteristics of the metal’s surface. As a bonus, anodizing increases wear resistance and reduces electrical conductivity, the latter of which is very important when parts are within reach of your customer, or circuitry.
Comparing Types of Anodizing
Earlier, we mentioned that there are two kinds of anodizing: Type II and Type III. Which you choose basically depends on the requirements for your parts. Both create a protective layer of aluminum oxide on your parts, but that’s where the similarities end.
Anodizing Comparison
|
|
Type II |
Type III |
|
Protective Layer Thickness |
0.00007-0.001 in. (1.8-25 μm) |
0.0005-0.006 in. (13-150 μm) |
|
Corrosion and Wear Resistance |
Good |
Very good |
|
Aesthetics |
Dyeing possible to add color |
Generally best for non-visible parts |
|
Cost |
Less |
Somewhat more |
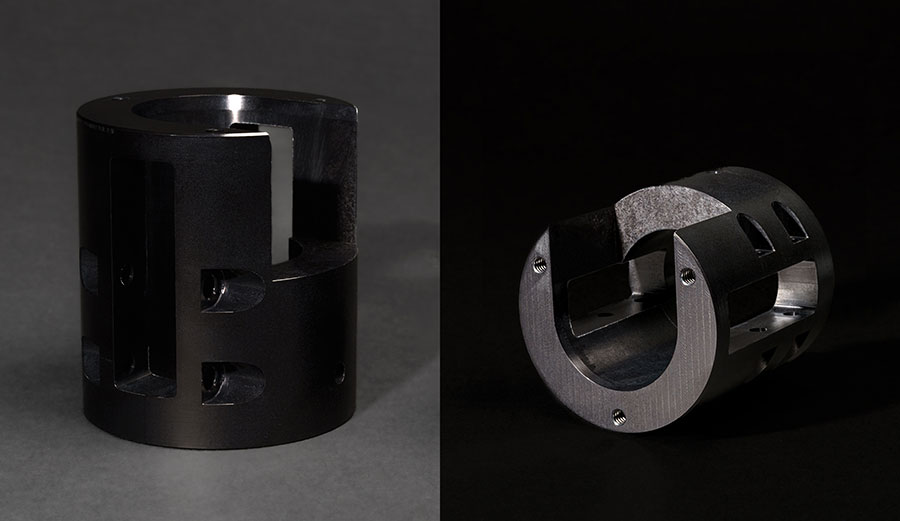
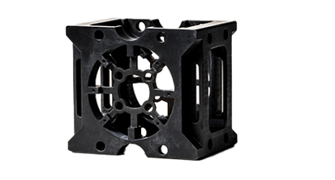
These parts were treated with Type II black anodizing, which provides a protective and attractive finish.
Type II Anodizing
If your parts need some protection, but you also want to give them a rich, metallic luster through dyeing, this is the way to go. Type II anodizing will provide reasonable wear and corrosion resistance, and the aesthetics, if dyed, are nice. The protective layer thickness is much less than what you get with Type III, but you’ll save some money with this choice.
Type III Anodizing
This is also known as hard coat because, well, it protects your parts from the elements like a raincoat protects you from a heavy shower. Especially popular in the aerospace, marine, and chemical industries, the layer it creates is about 10x that of Type II. The two downsides to Type III are that it costs more and dyeing your parts is not recommended. Note that sealing Type III anodized parts potentially can limit wear resistance.
Which Plating to Use?
It comes down to what your parts need for protection and aesthetics, and what you’re willing to pay for each. One thing to remember is that anodizing of either type will add to your lead times, so unless you have a reason to test a prototype’s ability to withstand the environment it will reside in, you may want to wait until later iterations—and ultimately production—to add anodizing.

If you have any issues getting your guide, download here.

