
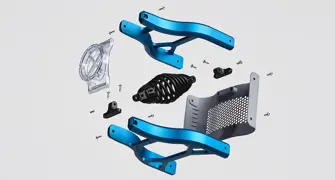

When speed is critical, design decisions can make a big difference to your prototyping timeline. From material selection to part geometry, there are several ways to optimize your design for faster manufacturing without compromising quality. Here are 11 practical tips to help you get prototypes in your hands sooner and keep product development moving.
Manufacturing Prototypes Fast
Protolabs’ rapid prototyping services help you move from design to finished prototypes in days. Our digital manufacturing capabilities, automated design analysis, and expert engineering support are designed for maximum efficiency. By considering manufacturability early in the design process, you can save time and move through development cycles quickly.
Unique Project Requirements
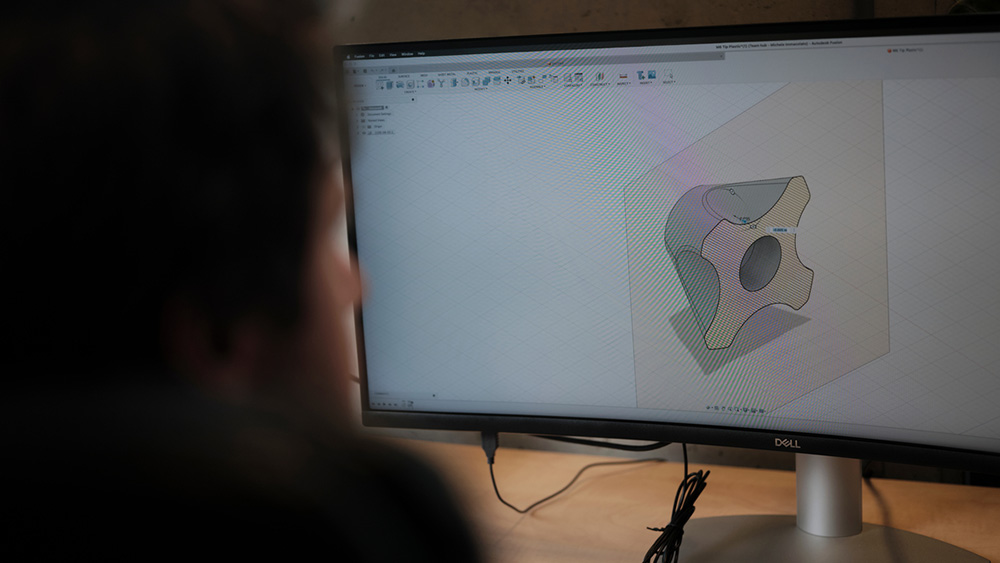
Not every prototype needs to meet the same requirements as a finished production part. Early-stage prototypes may prioritize basic geometry and fit, while later iterations require tighter tolerances, specific material properties, or cosmetic finishes. Understanding what each prototype needs to achieve helps you make informed decisions about where to invest time and resources.
1. Prioritize Small, Simple Geometries
The more orientations, tool changes, or handling steps a part needs, the more time manufacturing takes. Consider splitting your prototype into multiple parts that can be printed or machined faster, and assembling them later.
2. Manufacture Close to Home
Protolabs’ in-house factories in the U.S. and Europe offer rapid prototyping in as fast as one day. When speed is less of a factor, our global network adds advanced prototyping capabilities. You can compare lead times directly in ProDesk.
3. Take Advantage of DFM Feedback in ProDesk
Interactive design analysis from Protolabs helps you digitally identify potential manufacturability issues—lack of draft, thin walls, incorrect material selection—up front before any physical prototyping is started. That saves time and money.
4. Create a Prototype Design File
A CAD model of a final product may include extra features that add more complexity than a prototype needs, such as ribs, hollowed sections, or uniform wall thickness.
5. Reduce Supports
Slicer software will add supports to print overhangs and other floating features, but the support material adds to the total printing time and needs to be removed afterwards.
6. Skip Threaded Inserts
Unless the prototype needs to be assembled by screwing and unscrewing many times, direct threads are usually sufficient and take less time.
7. Opt for Standard Tolerances
Keep tight tolerances for part dimensions that affect fit, function, or the test result rather than applying them across the whole part.
8. Focus on the Requirement You Need to Prove
Refine the design to test a particular function, fit, or use case, rather than validating every feature of a final product at once.
9. Maximize Equipment Capacity
Small, simple parts can often be nested in one print, run across multiple machines at the same time, or machined together in the same CNC workholding.
10. Consider the Manufacturing Process
3D printing is often the fastest route for early geometry and fit checks, while CNC machining is useful when the prototype needs closer alignment with the final manufacturing process.
11. Start Strong with Expert Advice
A technical consultation with Protolabs’ applications engineers may add a few hours upfront, but it can prevent a slower redesign or failed build at a later stage. Our experts are always available to help.
More Information about Prototyping
Read our guide to rapid prototyping processes to choose the best manufacturing method for your project. You can also read about prototyping with metals, prototype tooling for injection molding, sheet metal fabrication for prototyping and how we can support you through the product life cycle.
|

